Abstract
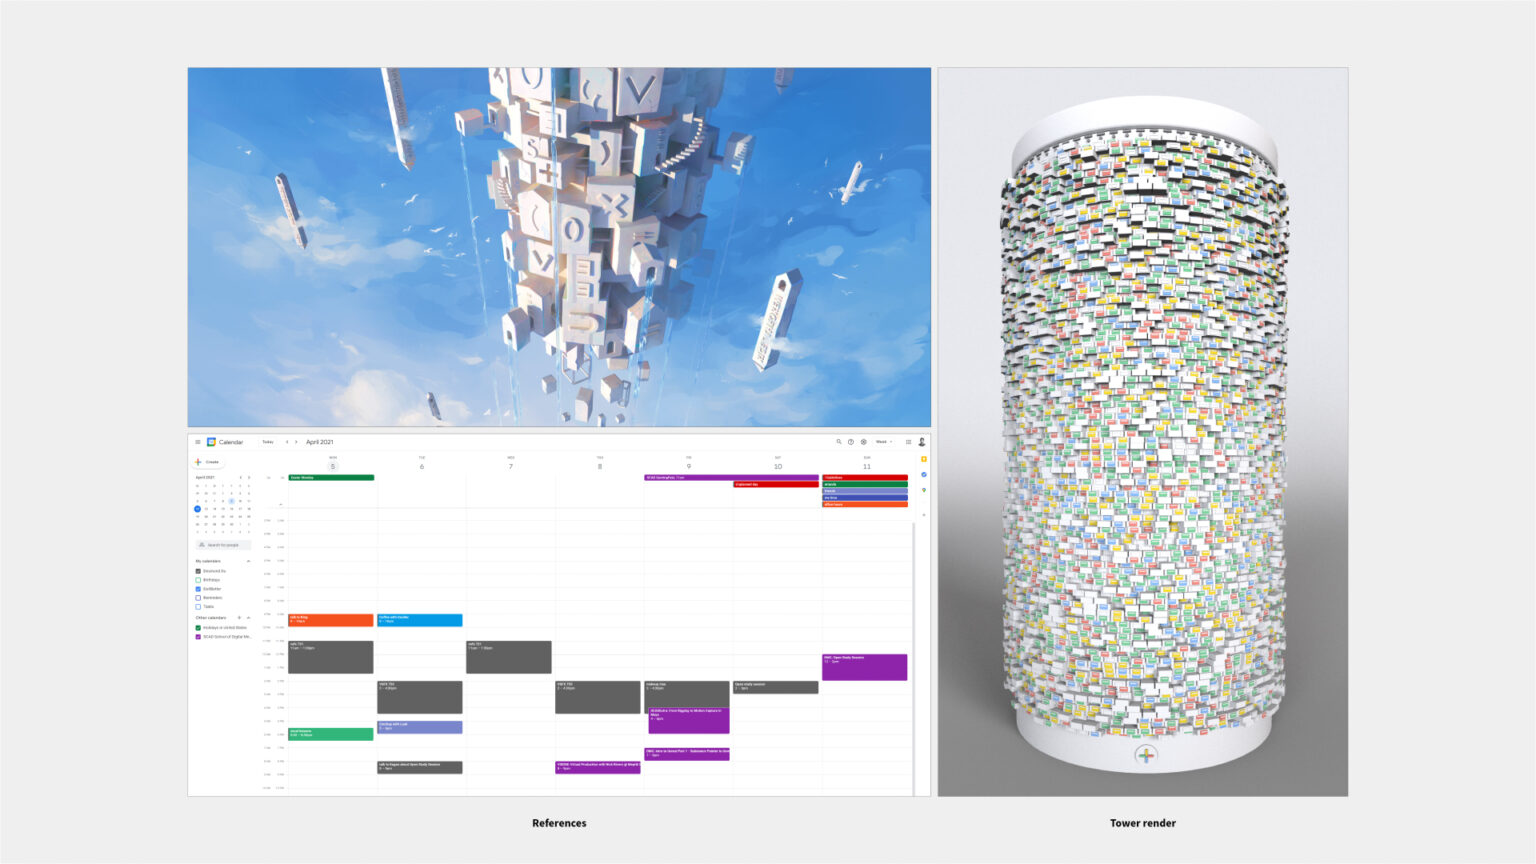
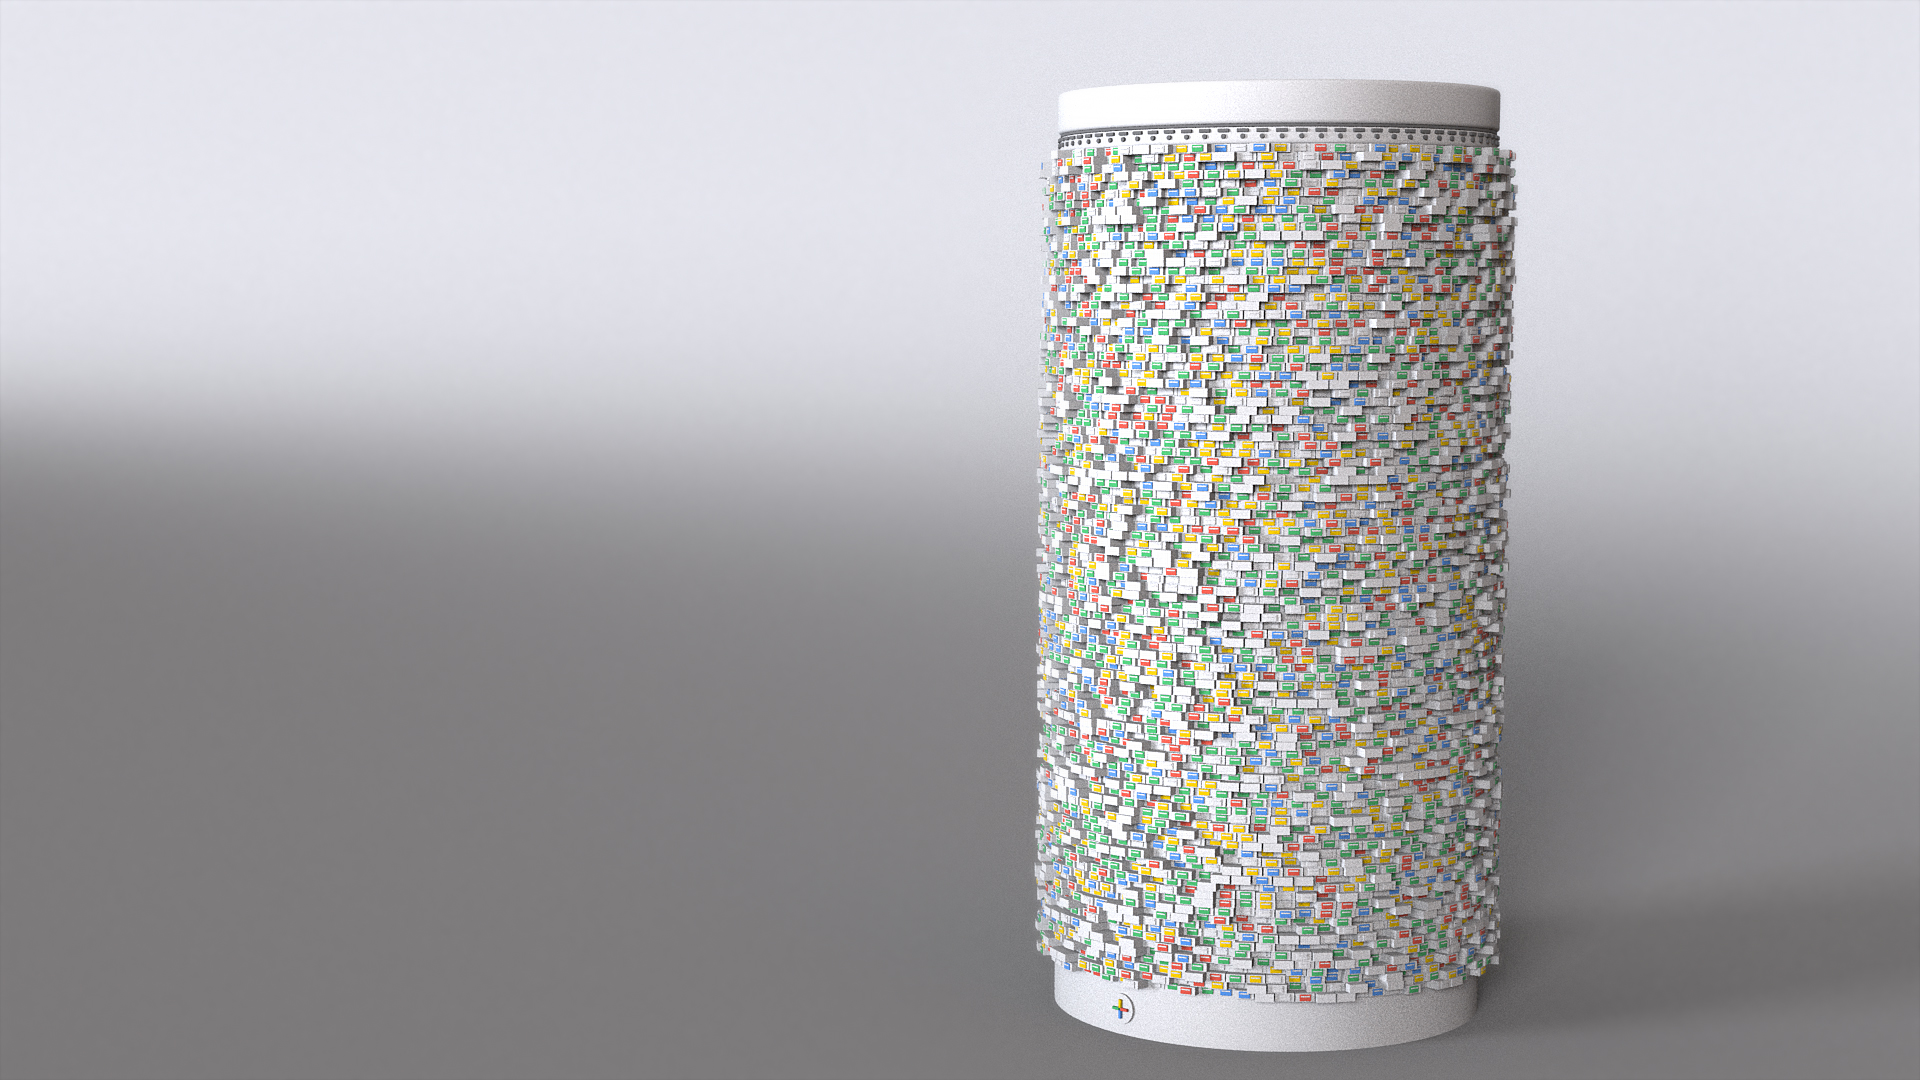
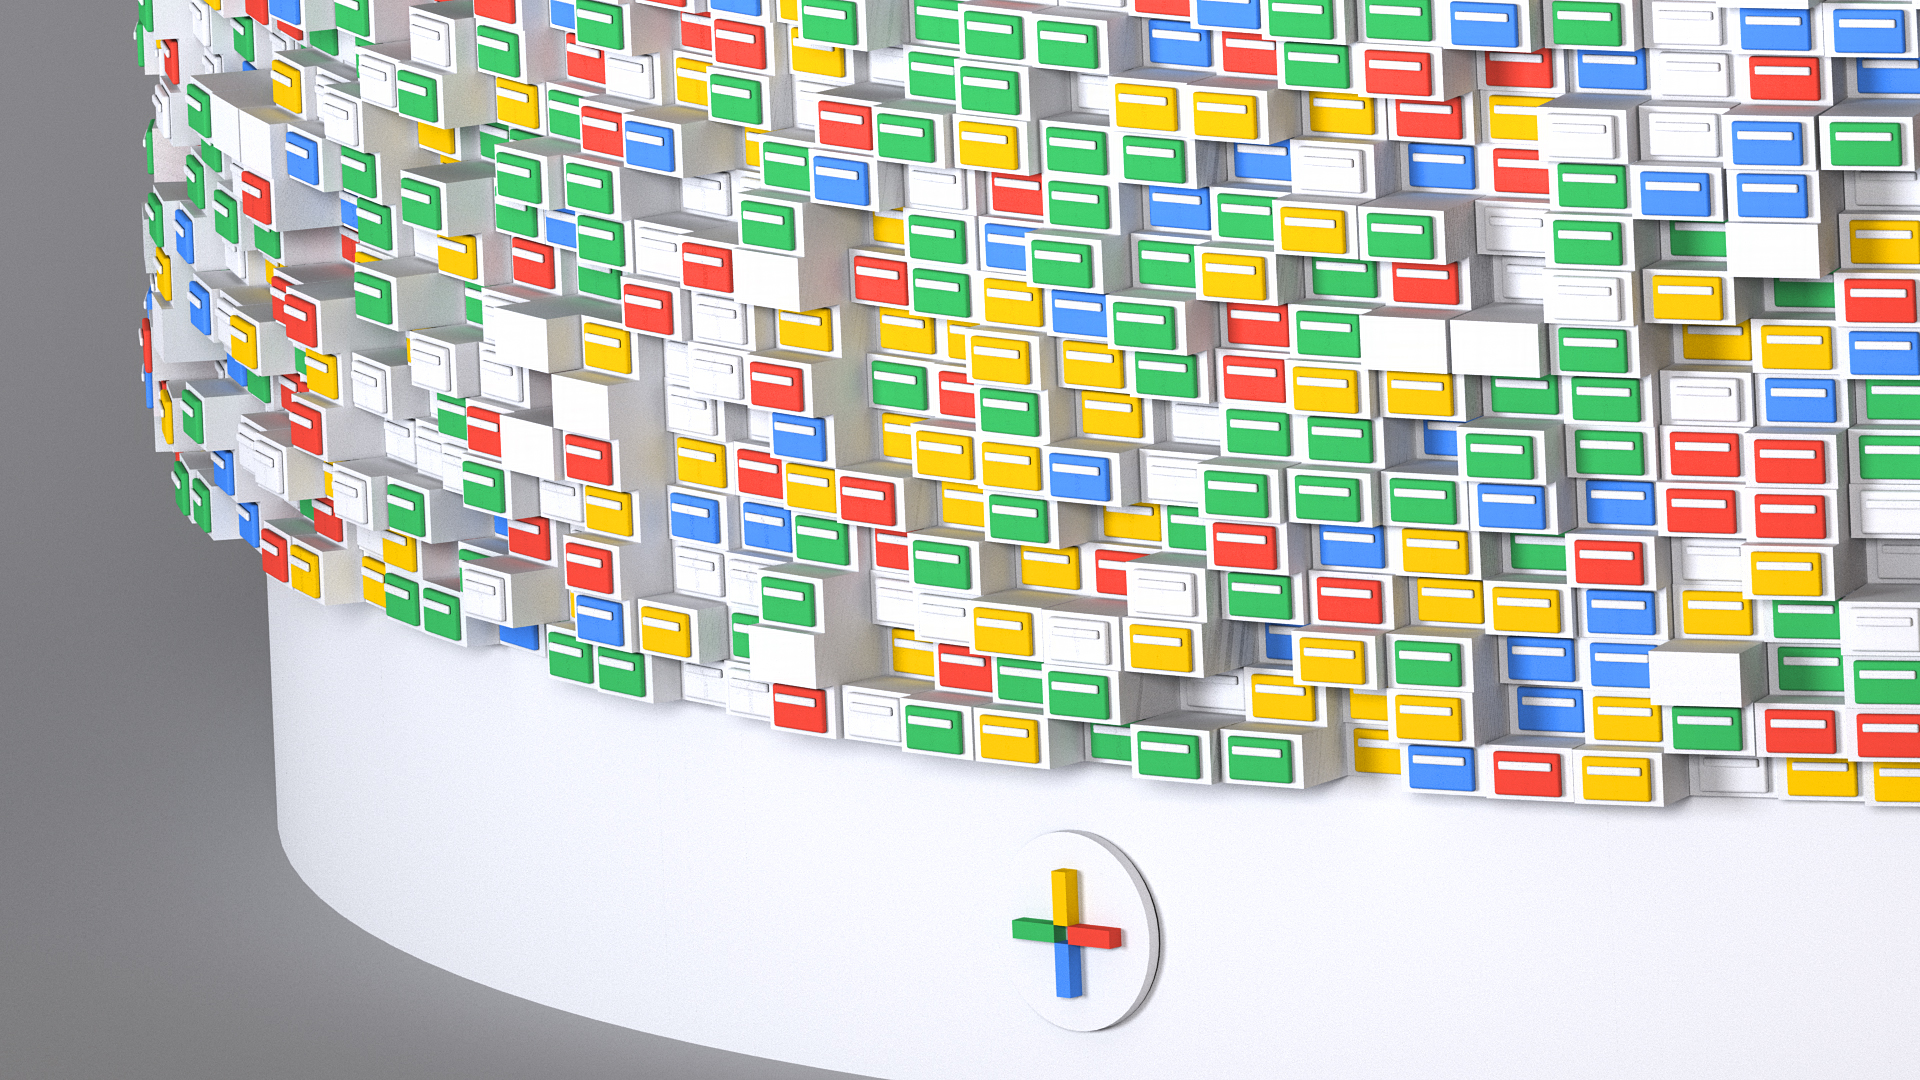
- This project is a study in Houdini procedural modeling techniques to create a responsive sizing building. For this project, I chosen to do a abstract tower in the flavor of the Google Calendar, one of my favorite app to use manage my everyday life.
Using the specified high-level parameters, the current implementation of this procedural Google tower allows an artist to modify:
Dimensions of the tower — radius and height
Number of floors between the ground and roof level
Height of a repeating floor
Height of the base floor
Spacing between cells in a single floor
Number of blocks filling up the cells in each floor (%)
Randomize the rotation value of each floor
Control the max extruded distance for each cell.
Houdini version: 18.5.351 · April 2021
Concept
Process
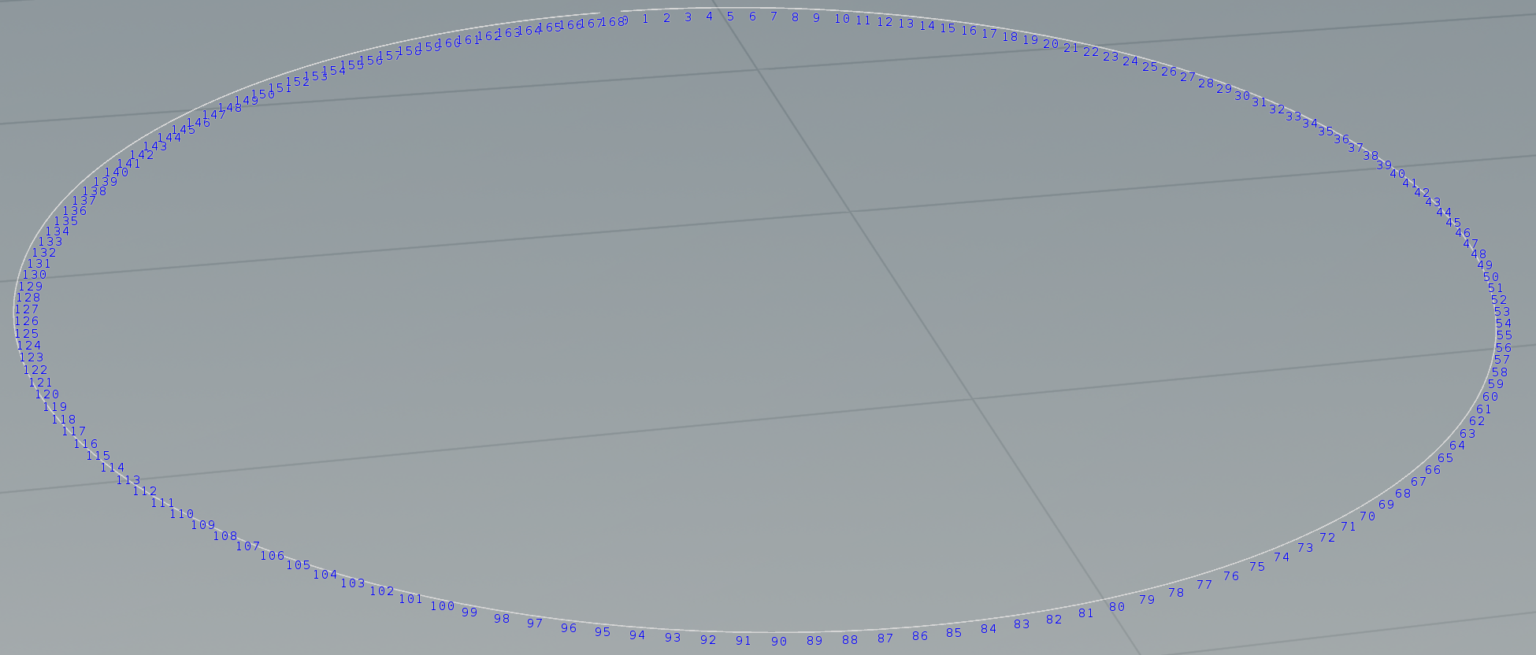
Generating circle of points using VEX
- The project first begin with generating equally-spaced points arranged in a circle using VEX.
- 2 controls are created, the radius and number of points, that allow the user to change the size and points of the circle. Below is the VEX code:
					float radius = chf('radius');
int pt =chi("numpt");
float angle = 360/float(pt);
int points[];


for (int i = 0; i < pt; i++)
{
    float x = radius * cos(radians(i * angle));
    float z = radius * sin(radians(i * angle));
    float y = 0;
    v@loc = set(x, y, z);
    points[i] = addpoint(0,v@loc);

}

addprim(geoself(),"polyline",points);
Responsive number of points based on size
In order to have the number of cells in each floor responsively change to both floor’s circumference and the user control to specify the spacing between cells. The following formula was used to drive the expression.
					// number of cells in each floor
floor((ch("../radius")*2*$PI-ch("../spacing")) / bbox("../box1",D_ZSIZE))

// max sizeX of a cell
(ch("../radius")*2*$PI-ch("../spacing"))/ch("../gen_circle2/numpt")
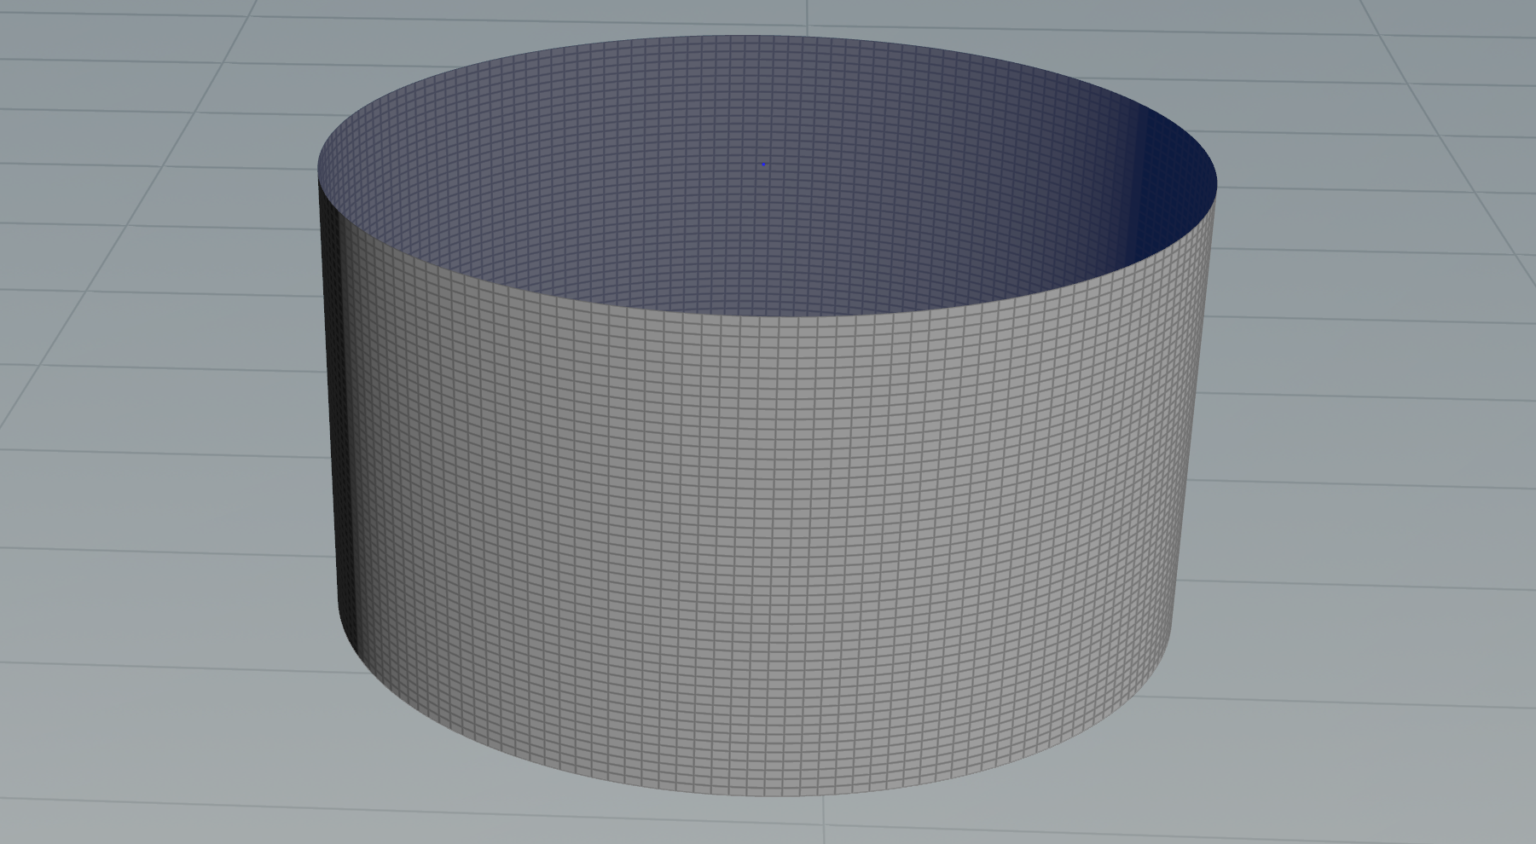
Stacking floors with copystamp
With the framework done, the circle was made into a floor using join and polyextrude, and a copystamp was used to repeat and stack it into a tower. Below are the expressions used in the copystamping.
					// Translate Y expression for stacking
bbox("../transform1",D_YSIZE)*($CY)

// Rotate Y expression for randomly rotating each floor
rand($CY) * ch("../rot")
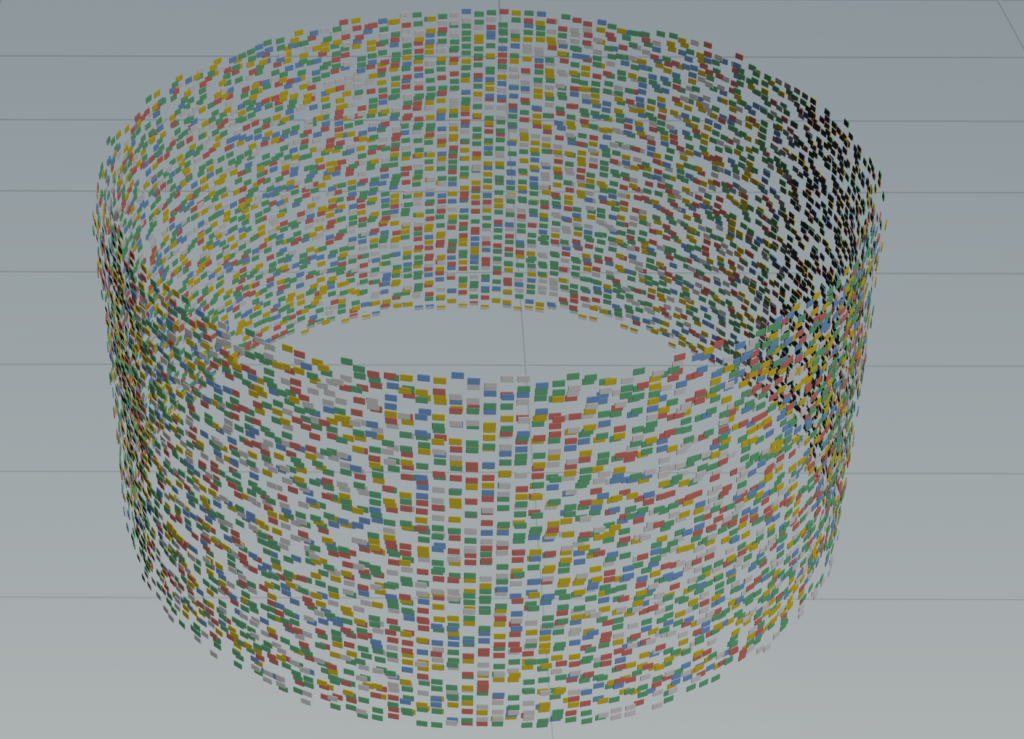
Random extrusion based on color
In order to extrude each primitive face with a random depth, each face of the tower is assigned a random color using a pointwrangle which is used for the polyextrude > Local Atrributes > Distance Scale > Set to “Cd”.
					//random prim color
@Cd = rand(@primnum);
Instancing objects on extruded surface
As I only want the Google cell blocks to be placed on these extruded surfaces, I need only the point data of the extruded surface. In the polyextrude, the extrudeFront group was created to remove other primitives using blast. A pointwrangle was used to remove the primitives and convert them into points to be used for copystamping.
					// vex - removing faces and making them into points
int pt = addpoint(0,@P);
vector nml = primuv(0, “N”, @primnum, {.5,.5,0});
setpointattrib(0, “N”, pt, nml);
removeprim(0, @primnum, 1);
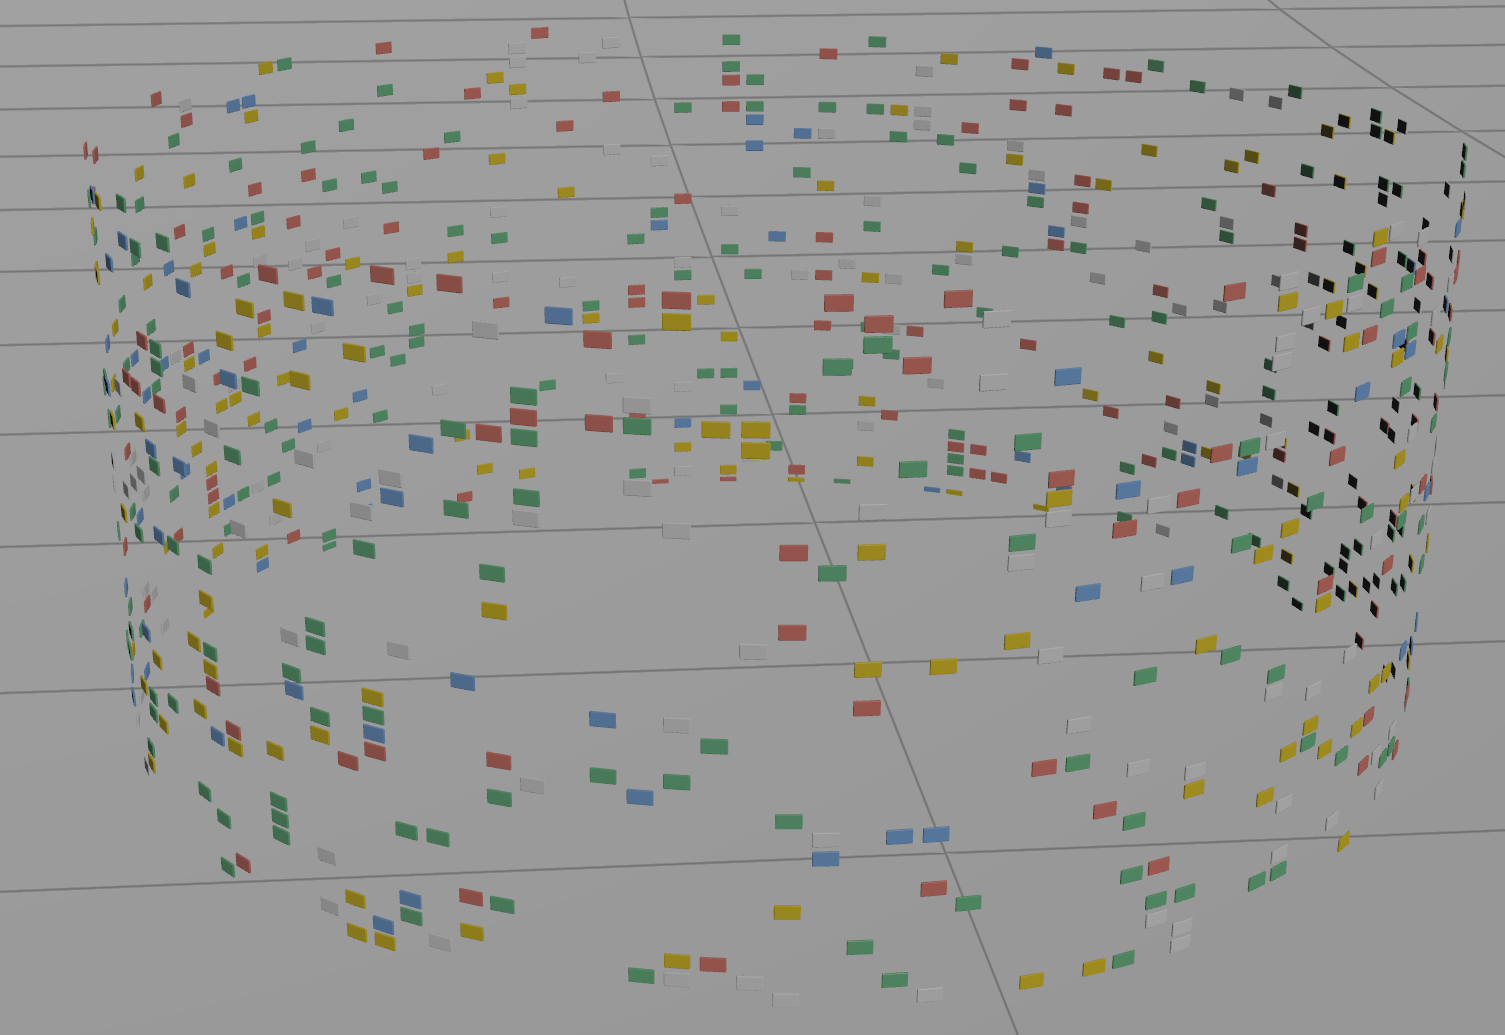
Random delete points by threshold
To control the number of blocks that appeared in the tower, a pointwrangle was used to remove random points based on a threshold slider. This is a simple technique that I first observed in Matt Estela’s cgwiki.
					if(rand(@ptnum) > ch('threshold') ) {
   removepoint(0,@ptnum);
}
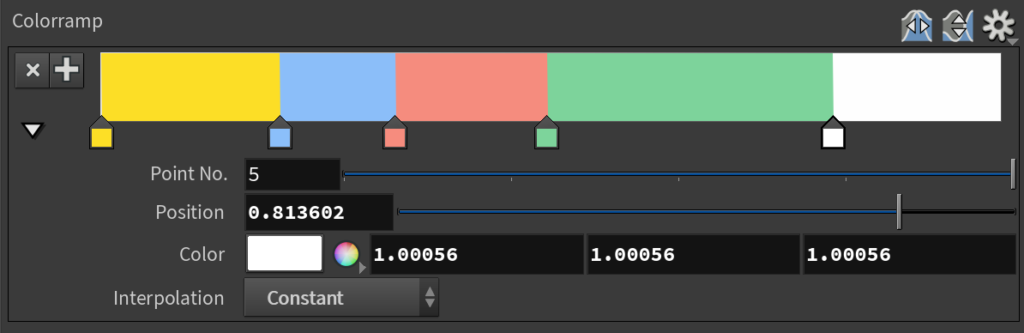
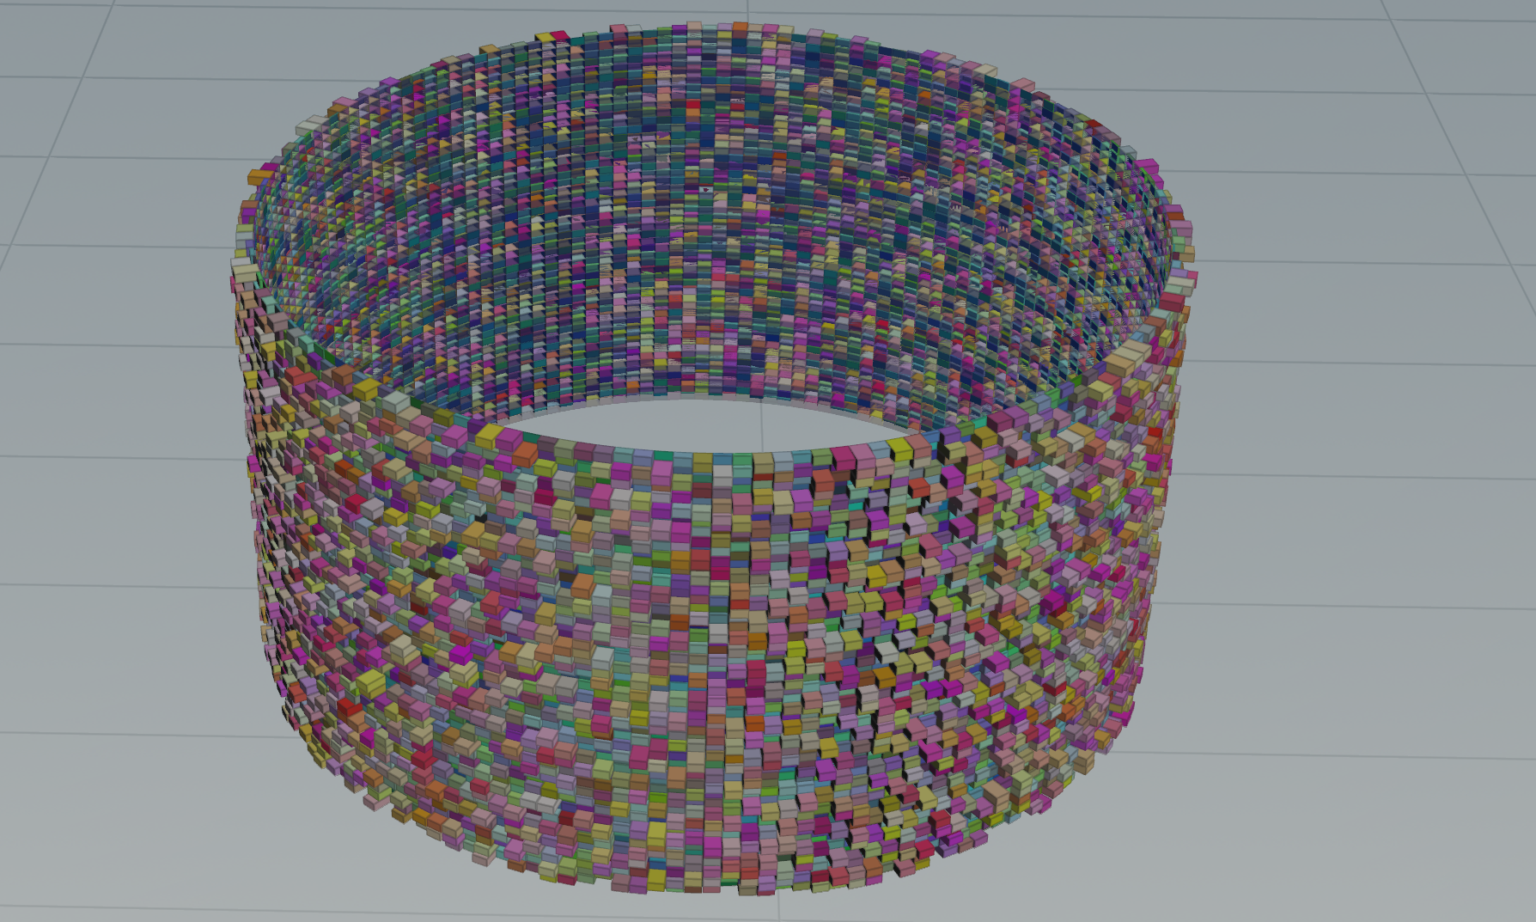
Random coloration of cells using ramp
Finally, to color the blocks with a selected color palette, another pointwrangle was use to map random colors from a color ramp with constant interpolation. This allow user to easily add, remove, specify the colors they want, and control the weightage of each color too.
@Cd = vector(chramp('colorRamp', rand(@ptnum)));
Conclusion
Making the best of this project as a Motion Designer
As a Motion Designer, making a standard procedural building brings no value to my portfolio or career, unless I want to become a VFX artist down the line. To make the best of this project, I decided to contextualize the building in the flavor of Google. Google is a company that I like to work for or have as a client in the future. I believe that having something that echoes the Google branding and design will serve as visual cues for employers or people looking at my work to understand my interest in working along the lines of Google or tech companies.
Not beyond, but deeper
At the end of the project, I felt that I was highly conscientious about the procedures covered in Professor Fowler’s classes, and expanded and combined different methods to create something. For example, I was able to instancing geometry onto extruded surfaces using a mix of VEX and expressions, and I believe my documentation above served to justify this claim.
Importance of process pages
I probably had a little bit too much fun adding some flair here and there to enhance this technical breakdown such as adding contextual imageries and code snippet. As one of my goal is to serve as a technical director on a Motion Design team, I found writing detailed and succinct process pages to communicate the complex bits in an understandable way for someone less proficient as a necessary part of my creative practice. I believe in the future I will have to pitch to a team on how to animate something complex and explain how it works, and this project is a practice to do so.
